Homesteading aligns with the principles of the "back to the land" movement, particularly relevant in contemporary bustling times. This term gained prominence during the counterculture movement of the 1960s and 1970s in the United States, as individuals sought a return to rural living characterized by self-sufficiency. Given the escalating costs of essentials such as food, fuel, and housing, many individuals are turning to homesteading as a means of achieving self-reliance. Some individuals are driven by the desire to optimize their land use for cost-saving purposes.
Embarking on a homesteading lifestyle necessitates adequate space, be it a backyard, undeveloped land, or a commitment to a fully off-grid approach. Fortunately, there exist cheap entry points to begin the journey toward self-sufficiency, making it accessible for individuals to bring these practices into their lives. We will try to keep this list of 7 things you can get going for well under $1k dollars
7 Cheap Ways to Start Homesteading
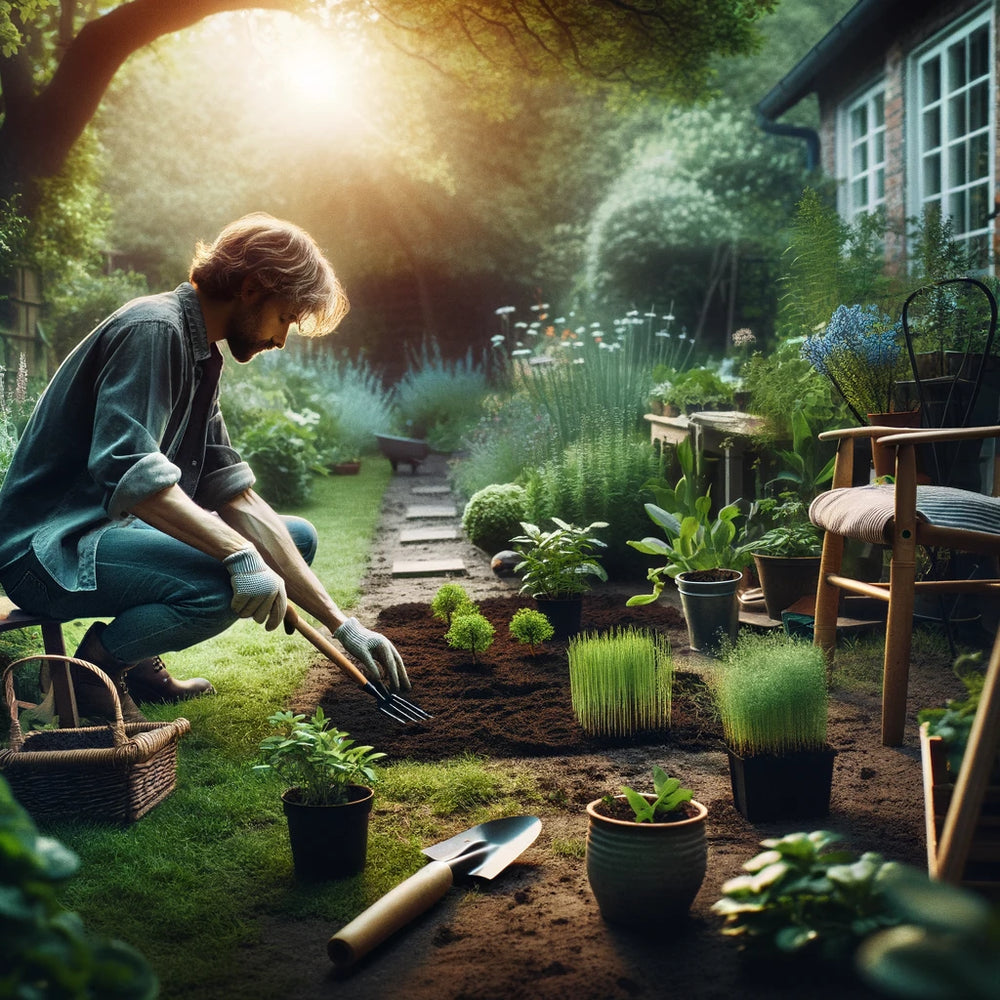
1. Start Growing Your Own Food & Herbs
You don't need much space to do this and you'll be shocked how much food you actually get. The key to this is not letting any of it go to waste which we will go over next. Heres the cost you can expect to get started with a garden producing fresh and clean food. Imagine the cost savings from your grocery store!
Seeds: Seeds are a must for growing food in your garden. A packet of vegetable or herb seeds can range from $1 to $4, depending on the type and brand.
Soil: You may need to purchase soil or compost if your existing soil quality is poor. Budget around $5 to $10 per bag.
Containers or Garden Beds: Depending on your available space and soil quality, you might need containers or materials for raised beds. Costs can range from $10 to $50 or more, depending on the size and materials used.
Watering Can or Hose: Ensure you have a way to water your plants. You can purchase an inexpensive watering can for around $10 to $20.
Garden Tools: Basic gardening tools such as a shovel, rake, trowel, and pruners will be necessary. Budget around $20 to $50 for these tools.
Optional: Mulch: While not strictly necessary, mulch can help retain moisture and suppress weeds. A bag of mulch typically costs around $3 to $5.
Optional: Fertilizer: Depending on your soil and plant needs, you may want to use fertilizer. A small bag of organic fertilizer costs around $5 to $10.
These items should allow you to start a basic garden for producing food without unnecessary expenses. You can add more tools, materials, and items as your gardening skills and needs evolve.
2. Preservation of Food
Canning:
- Canning involves sealing food in jars and heating to destroy microorganisms.
- High-acid foods like fruits can be water-bath canned, while low-acid foods like vegetables require a pressure canner.
- Proper hygiene, correct jar sizes, and accurate processing times are crucial for safe canning.
Freezing:
- Freezing is a simple method to preserve a variety of produce.
- Blanching, a quick boil followed by immediate cooling, helps retain color, flavor, and texture.
- Airtight containers or freezer bags are essential to prevent freezer burn.
Drying:
- Drying removes moisture, inhibiting bacterial growth and spoilage.
- Dehydrators, ovens, or air-drying in a well-ventilated area can be used for drying.
- Properly dried items should be brittle and easily snapped.
Fermenting:
- Fermentation involves using microorganisms to convert sugars and starches into lactic acid or alcohol.
- Fermented foods, like pickles and sauerkraut, are rich in probiotics and have extended shelf life.
- Maintaining a clean environment and submerging the produce in a brine are key to successful fermentation.
Preservation enables you to reduce waste and savor the fruits of your labor even when the growing season ends. Each technique offers distinct advantages, allowing you to choose the most suitable method based on the produce you have and your preferences. Experimenting with these methods will help you discover the best ways to preserve your garden's harvest and relish homegrown flavors throughout the year.
3. Raising Chickens for Eggs
It's not as costly as you think unless you want to make a big project out of it. Think about all 3rd world countries with chickens and roosters running everywhere. If you even have an enclosed backyard free from predators you can even just let them roam around eating naturally and build a small spot for nesting and eggs.
Day-Old Chicks: Purchase day-old chicks from a local hatchery or farm supply store. Cost: $2 to $5 per chick.
Coop: Build or repurpose a coop using affordable materials like reclaimed wood or pallets. Cost: $100 to $300.
Feeding and Watering: Create DIY chicken feeders and waterers using buckets or containers. Cost: $10 to $20.
Chicken Feed: Buy chicken feed in bulk to save money. Cost: $10 to $20 per month.
Free-Range or Pasture: Allow chickens to free-range or pasture-raise during the day to reduce feed costs. Cost: Minimal.
Health Maintenance: Keep chickens healthy with clean water, proper nutrition, and a clean coop. Cost: Varies, but preventive care is cheaper than veterinary bills.
Cleaning Supplies: Invest in cleaning supplies to maintain a clean coop. Cost: $10 to $20.
Kitchen Scraps: Repurpose kitchen scraps and surplus garden produce as chicken treats. Cost: Minimal.
By focusing on these basics and keeping costs to a minimum, you can successfully raise chickens without a substantial financial investment.

4. DIY Personal Care Products
You can find books and tons of recipes for this online, everything from soap, cleaning products and more. The cost savings when making these can add up very fast vs. buying them all the time. We will give you just a couple examples here
Homemade Deodorant:
Ingredients:
- Baking soda
- Cornstarch or arrowroot powder
- Coconut oil
- Essential oil (e.g., lavender, tea tree, or your preferred scent)
Instructions:
- In a mixing bowl, combine 1/4 cup of baking soda and 1/4 cup of cornstarch or arrowroot powder.
- Add 4 tablespoons of coconut oil and mix until you have a smooth paste.
- Add 5-10 drops of your chosen essential oil for fragrance (optional) and mix well.
- Transfer the mixture into an empty deodorant container or an airtight jar.
- Allow it to set at room temperature or in the refrigerator.
- Apply a small amount to your underarms as needed.
Homemade Toothpaste:
Ingredients:
- Baking soda
- Coconut oil (or any edible oil)
- Peppermint essential oil (or another preferred flavor)
Instructions:
- Mix 2 tablespoons of baking soda with 2 tablespoons of coconut oil in a bowl. Adjust the ratio for your desired consistency.
- Add a few drops of peppermint essential oil (or your chosen flavor) for a pleasant taste.
- Stir well to form a smooth paste.
- Store the toothpaste in an airtight container.
- Use a small amount on your toothbrush as you would with commercial toothpaste.
5. Make a Sourdough Starter
A sourdough starter, also known as a sourdough culture or sourdough leaven, is a mixture of flour and water that captures wild yeast and lactic acid bacteria from the environment. It serves as the natural leavening agent for sourdough bread and other baked goods. Sourdough starters have been used for centuries to make bread rise without the need for commercial yeast.
Making sourdough is different than just your typical bread recipes. It takes skill and some get into adding things from their garden into the bread, such as jalapenos for example. When you can make a good sourdough bread it can be used as gifts or a way to trade for something else.
Here's how a sourdough starter works:
-
Cultivation: To create a sourdough starter, you mix equal parts of flour and water and allow the mixture to ferment at room temperature. During this fermentation process, wild yeast from the air and lactobacillus bacteria from the flour and environment colonize the mixture.
-
Feeding: The starter is typically fed daily or as needed with additional flour and water. This feeding process provides the yeast and bacteria with the nutrients they need to grow and thrive.
-
Fermentation: As the starter matures, it becomes a lively, bubbly mixture with a complex flavor profile. The fermentation process gives sourdough bread its distinctive taste and texture.
-
Leavening: When you use a mature sourdough starter in bread recipes, it acts as a natural leavening agent. The yeast in the starter produces carbon dioxide gas during fermentation, which creates the bubbles and structure in the bread dough, causing it to rise.
Sourdough starters can vary in flavor and characteristics depending on factors such as the type of flour used, the environment in which it's cultivated, and the feeding regimen. Some starters develop a mild and subtly tangy flavor, while others become more assertively sour.
Sourdough starters can be kept and maintained for long periods, even decades or centuries, as long as they are fed regularly and kept in a suitable environment. They are often passed down through generations and can become a cherished family tradition.
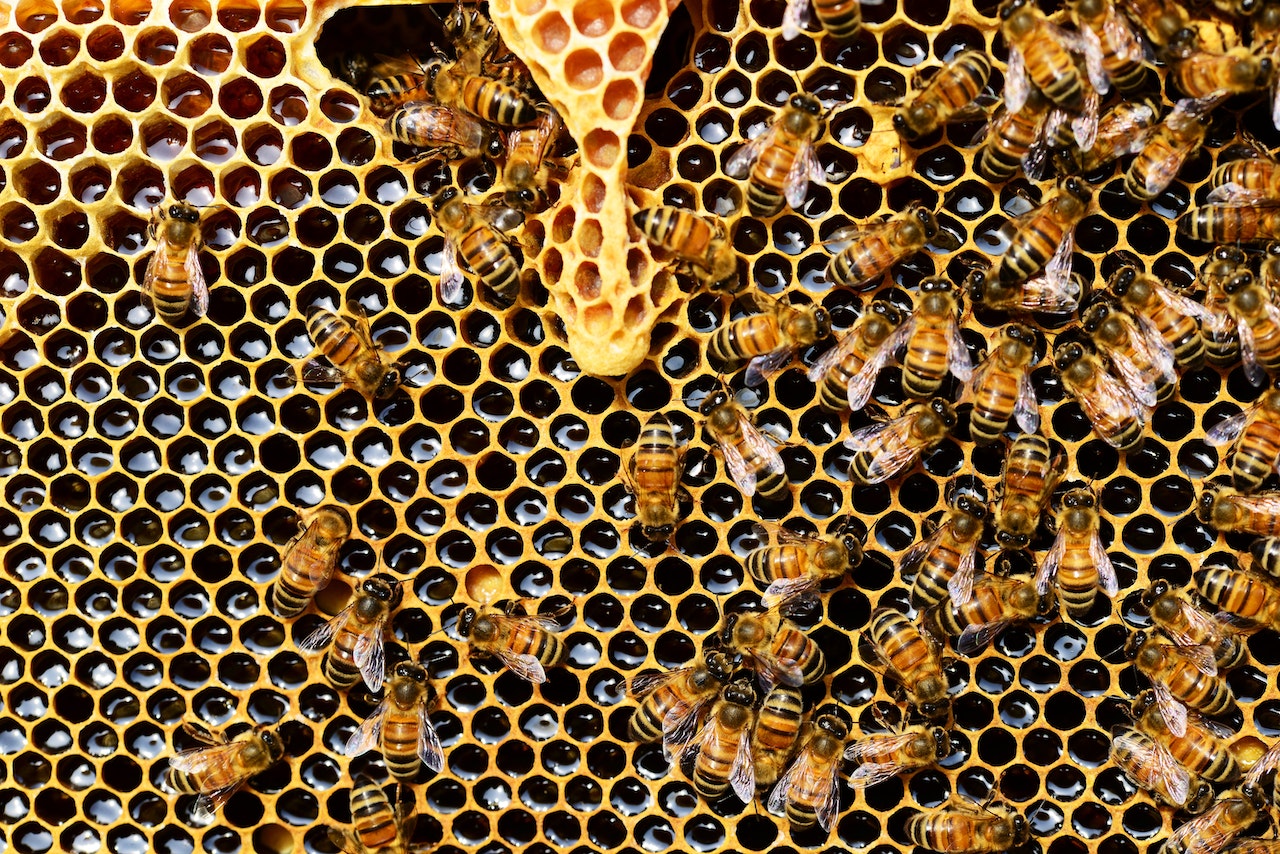
6. Beekeeping - Honey & Honey Comb Products
If you're brave enough and have the space consider a beekeeping kit. This will also help your garden if you put the bees within the area. But you'd be shocked how many things you can make just from having the ability to be a beekeeper on your own land. Here are just a few...
Honey, Beeswax, Royal Jelly, Propolis, Bee Pollen, Comb Honey, Mead (Honey Wine), Beeswax Candles, Lip Balm and Salves, Soap and Skin Care Products, Beeswax Wraps (for food storage), Furniture Polish (using beeswax), Beeswax Crayons, Beeswax Thread Conditioner (for sewing), Beeswax-based Art Supplies (e.g., encaustic painting), Beeswax Food Preservatives (in some traditional recipes), Beeswax-based Lubricants (for various applications), Beeswax Sculptures and Craft Projects, Bee Venom Therapy Products (for medicinal purposes), Honey-Infused Beverages and Foods (e.g., honey-flavored syrups).
Basic Beekeeping Starter Kits: These kits are designed for beginners and usually include essential items such as a beehive, frames, a smoker, a hive tool, and a beekeeping suit or veil. They are a cost-effective way to start beekeeping and can range in price from $100 to $200, depending on the quality and completeness of the kit.
7. Learn How to Fix and Do Things Yourself
Nothing is more cost effective and more useful in homesteading than just learning useful things you can do yourself. Having as little as possible reliance on service industries can save you a lot of money over the years. Just about everything you can learn for free too. With YouTube and online books you can learn plumbing, building small things, repairing small items and even fixing your car if needed. It's all about how you search and how well you follow and learn first. Taking some good time to learn these things and put them into practice will make you a true self sustainable person. Give it a shot, go on to YouTube and search something like "How to Build a Chicken Coop". You can do this with just about anything nowadays. Getting started on this path isn't that expensive, should any kind of crisis happened you'd be more prepared for survival and safe a huge amount of money in the long run on all sorts of things.