No products in the cart.

Aircrete is quickly gaining popularity as an affordable, eco-friendly, and easy-to-use building material for DIY home construction. Whether you’re looking to build a tiny home, dome house, or a durable structure on a budget, it offers an excellent alternative to traditional concrete. In this guide, we’ll explore what it is, why it’s an ideal material for DIY builders, how to make it, and where you can learn more from experts.
What Is Aircrete?
Aircrete, also known as aerated concrete or foam concrete, is a lightweight building material made by mixing cement with a foaming agent. The result is a material filled with tiny air bubbles, making it significantly lighter than traditional concrete while still being strong and insulating. It is used for walls, floors, and even domed structures, offering a cost-effective solution for durable and energy-efficient buildings.
Why Is It a Great Choice for DIY Homes?
1. Affordability
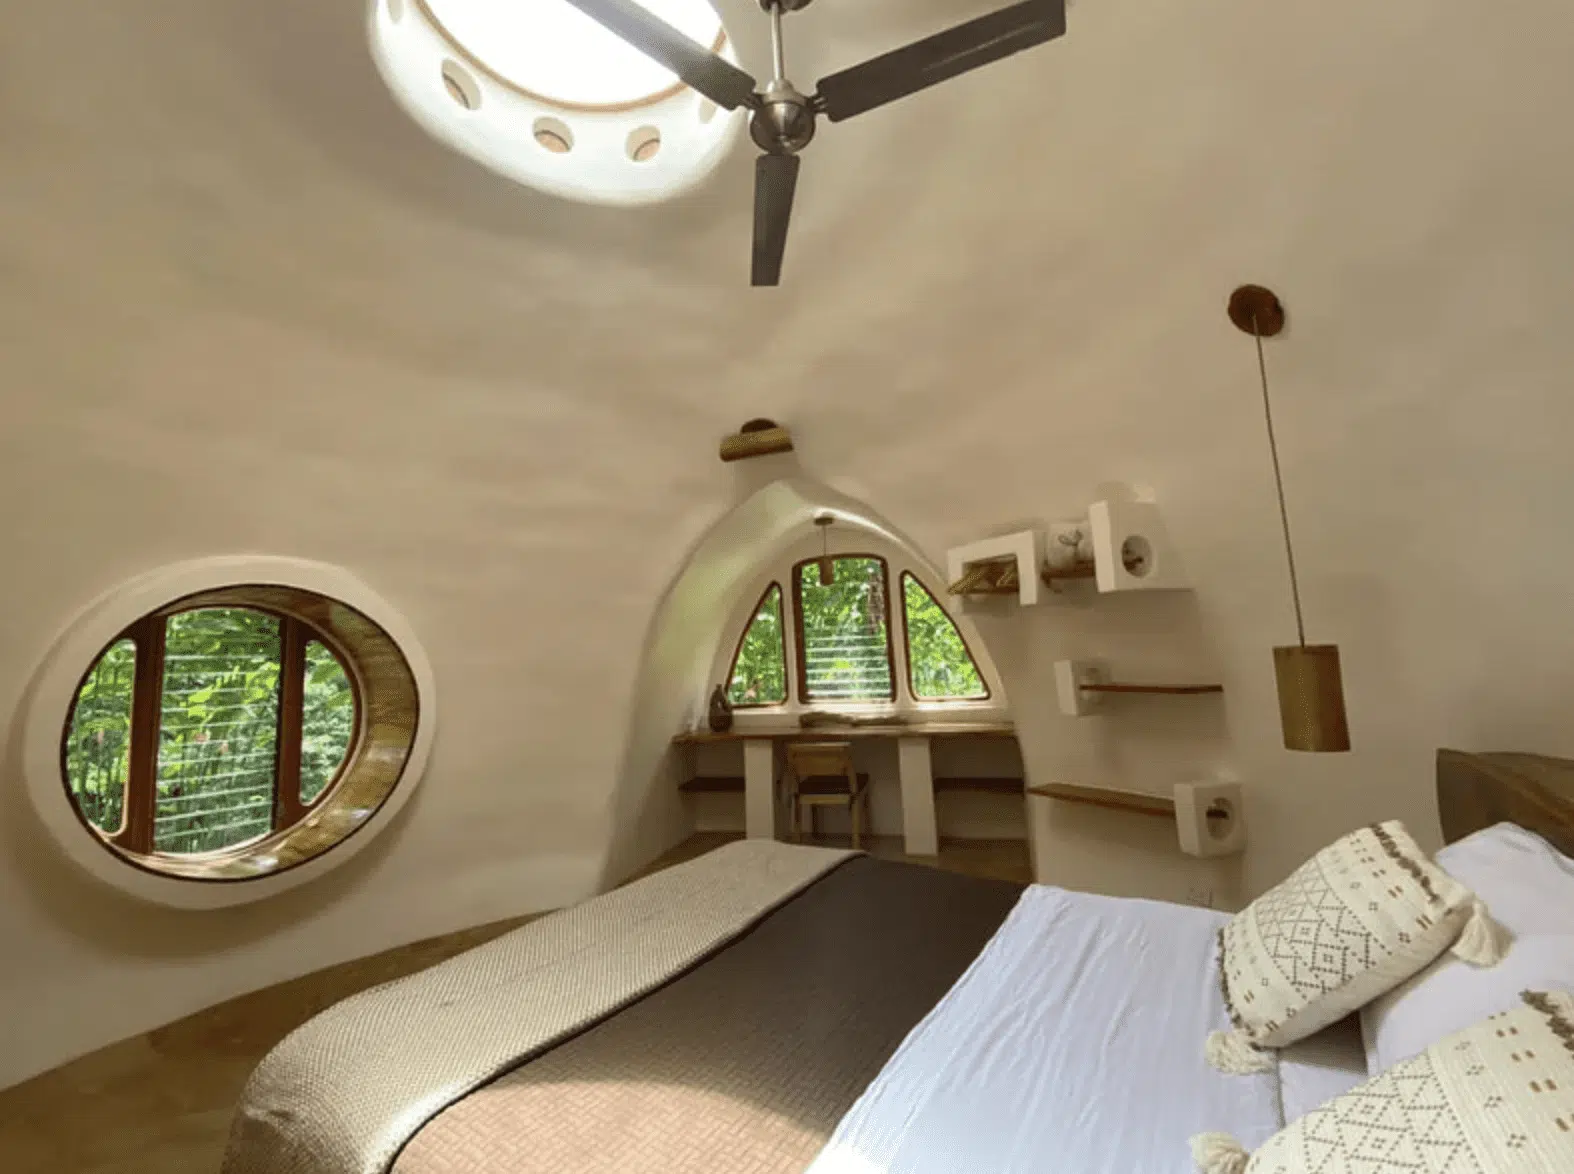
This material is much cheaper than conventional concrete and other building materials. Because it contains a high percentage of air, less cement is needed, reducing costs dramatically. This makes it an excellent choice for budget-conscious builders looking to construct affordable homes. Some enthusiasts are building beautiful dome homes for around only $10k and even making great passive income putting it up on Airbnb. The uniqueness for a rental makes it extremely popular on Airbnb.
2. Lightweight and Easy to Work With
One of aircrete’s biggest advantages is its weight. Traditional concrete is dense and heavy, requiring specialized equipment for transportation and installation with multiple workers. Aircrete, on the other hand, is light enough for one person to move and cut with basic tools. This makes it perfect for DIY home builders who want to construct a home without heavy machinery.
3. High Insulation and Energy Efficiency
The air bubbles in aircrete give it excellent insulating properties, making homes built with it naturally cooler in summer and warmer in winter. This can significantly lower energy bills and make aircrete homes more sustainable.
4. Fireproof and Pest Resistant
Unlike wood, aircrete does not burn or attract termites. Its fire-resistant properties make it a safer choice for home construction, especially in fire-prone areas.
5. Versatile and Easy to Shape
Aircrete can be poured into molds to create blocks, panels, or even unique shapes like domes and arches. Its flexibility makes it ideal for creative DIY builders looking to design custom homes.
How to Make Aircrete: A Step-by-Step Guide
Making aircrete at home is a simple process that requires just a few ingredients and tools. Here’s how you can do it:
Ingredients Needed:
- Portland Cement – The main binding agent.
- Foaming Agent – A liquid soap or specialized foaming agent like Drexel or Seventh Generation Dish Soap.
- Water – For mixing the cement.
- Air Compressor & Foam Generator – To create the foam needed to aerate the concrete.
Tools Required:
- Large mixing container (barrel or bucket)
- Drill with a mixing paddle
- Foam generator
- Air compressor
- Molds or formwork (if making blocks or panels)
Step-by-Step Process:
- Prepare the Foam
- Mix water with the foaming agent and use the foam generator to create a thick, stable foam.
- Mix the Cement and Water
- In a large container, mix Portland cement with water until you achieve a smooth consistency.
- Add the Foam to the Cement Mixture
- Slowly incorporate the foam into the cement mixture, stirring constantly until the mixture is uniform and fluffy.
- Pour into Molds
- Pour the aircrete mixture into molds or directly into the desired structure shape.
- Curing Process
- Allow the aircrete to cure for at least 24 hours before removing from molds. Full strength is achieved in about 28 days.
To enhance the strength and durability of aircrete, various additives can be incorporated into the mix.
Fiber reinforcements such as polypropylene, basalt, or even natural fibers help improve tensile strength and reduce cracking.
Pozzolanic materials like fly ash or silica fume can increase density and long-term durability.
Liquid polymers (such as acrylic or latex) enhances flexibility and water resistance, making aircrete more suitable for harsher environments.
Fine sand or additional cement to create a denser, more load-bearing material while still retaining its lightweight properties.

Domegaia: Leading Experts in Construction
For those looking to take their aircrete building skills to the next level, Domegaia is a leading authority in aircrete construction. Founded by Hajjar Gibran, Domegaia offers workshops and hands-on training worldwide, teaching people how to build eco-friendly and affordable aircrete homes. Their website provides resources, tools, and guidance for beginners and experienced builders alike.
Domegaia specializes in dome homes, which are not only aesthetically pleasing but also structurally strong and efficient. Their workshops teach participants how to make the material, construct dome homes, and utilize sustainable building techniques.